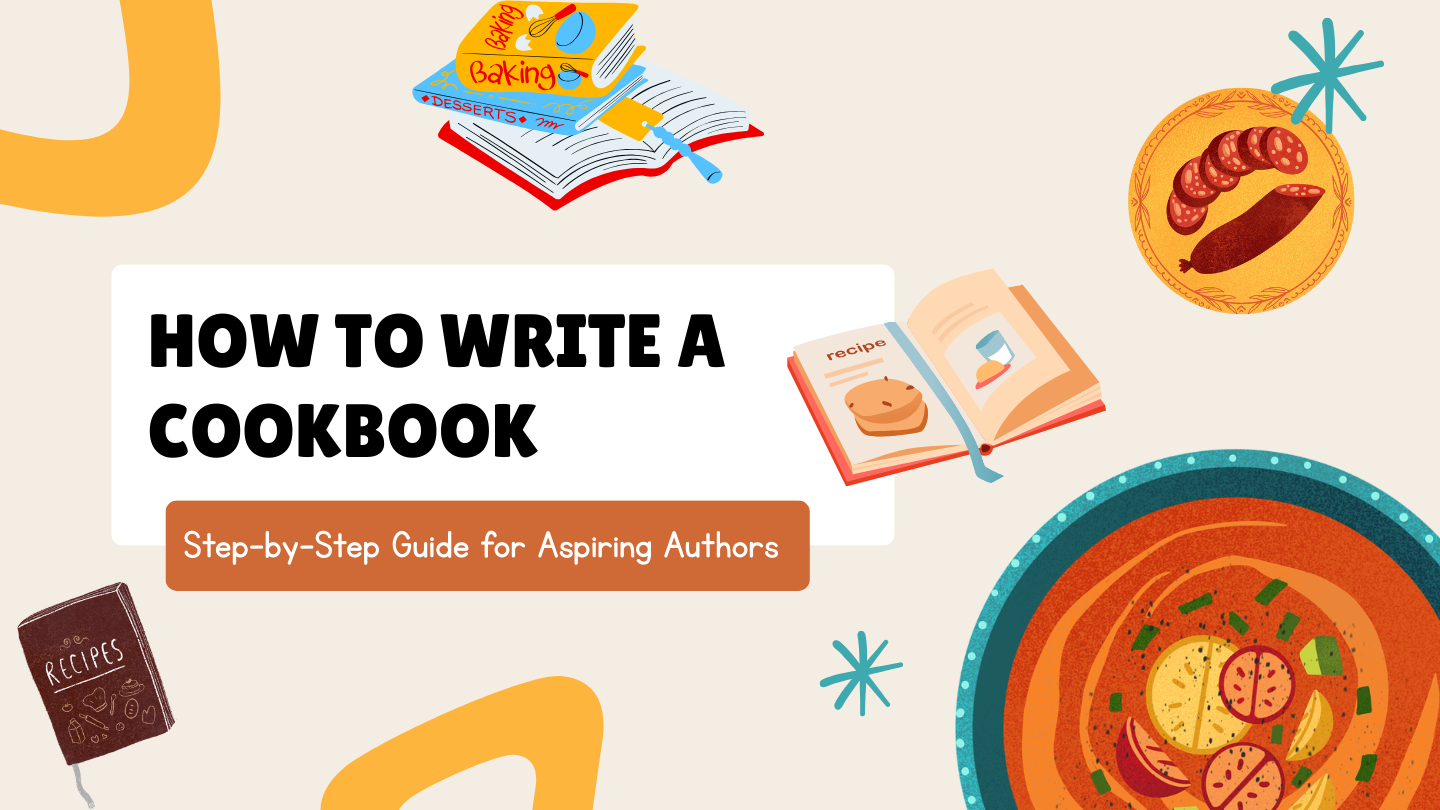
Thinking about writing a cookbook? Great choice. A cookbook can share your food story and teach others to cook with joy. This guide shows you how to plan, test, write, design, publish, and sell your book. We’ll keep the language simple and the steps clear. You’ll see checklists, tiny examples, and real tips. By the end, you’ll feel ready to start and finish your cookbook with confidence.
What You’ll Learn
- How to begin with a clear niche and reader
- How to organize recipes for a cookbook that flows
- How to test recipes for a cookbook so they work every time
- How to format recipes for a cookbook so they’re easy to follow
- Cookbook layout ideas that look clean and pro
- Paths for cookbook publishing, including self-publishing a cookbook.
- Simple cookbook marketing strategies that fit your budget.
- A full step-by-step guide to writing a cookbook from idea to launch.
First, Get Clear on Your Cookbook’s “One Big Promise”
Every strong cookbook serves one main need. That’s your One Big Promise.
Examples:
- “Make weeknight vegan dinners in 30 minutes.”
- “Bake perfect sourdough with three simple steps.”
- “Cook Filipino classics with ingredients from any supermarket.”
When you have one promise, your choices get easier:
- Which recipes to include
- What photos you need
- How to organize chapters
- How to market the book
Write your promise at the top of your outline. Read it every time you make a choice. If a recipe does not serve the promise, cut it or save it for later.
Who Is Your Reader?
Pick one clear reader, not “everyone.” Describe them in a few lines.
Mini profile example:
- Name: Maya
- Age: 28
- Lives: Small apartment
- Time: 30–40 minutes for dinner
- Skill: Beginner
- Tools: Stove, oven, blender
- Goal: Healthy, tasty meals for two
This profile guides tone, recipes, and layout. You’ll keep sentences short. You’ll avoid rare tools. You’ll explain terms the first time you use them.
Step-by-Step Guide to Writing a Cookbook
Step 1: Choose a tight concept
Small and clear beats broad and vague. “10-ingredient Thai home cooking” is tighter than “Asian food.”
Checklist:
- One main promise
- A clear reader
- A short, sticky subtitle
Step 2: Map your table of contents
Your table of contents (TOC) is your path. Keep it simple.
Example TOC (weeknight vegan):
- Pantry and tools
- 15-minute bowls
- 30-minute mains
- Sheet pan dinners
- One-pot soups
- Sauces and swaps
- Sides and quick add-ons
- Sweets in a flash
This is also how to organize recipes for a cookbook. Group by time, method, meal type, or skill level.
Step 3: Build a recipe list with purpose
Aim for balance:
- 60–80% “core” recipes that match your promise
- 10–20% “wow” recipes for weekends
- 10–20% sauces, sides, and basics
Mark each recipe with tags:
- Time (15, 30, 45)
- Skill (easy, medium)
- Tools (sheet pan, blender)
- Diet (vegan, gluten-free)
Tags help with layout, index, and marketing.
Step 4: Set your recipe standard (the golden format)
Readers love a clear format. Decide once and stick to it. That’s the heart of how to format recipes for a cookbook.
Golden format:
- Title
- Yield (servings)
- Time (active + total)
- Headnote (short story or tip)
- Ingredients (in order used, with units)
- Method (numbered steps, one action per step)
- Notes (swaps, storage, safety)
- Nutrition or allergens (if relevant)
Units: Use one system. If your readers are in the U.S., use cups and tablespoons. If global, use grams and milliliters. If you can, include both.
Step 5: Learn your voice and tone
Use short, friendly sentences. Speak like a helpful friend. Define terms the first time:
- “Blanch means cook in boiling water for a short time.”
- “Fold means gently mix without deflating air.”
Avoid fancy words. Keep verbs active. Use you/your to guide the cook.
Step 6: Write one “model recipe” first
Pick a recipe that shows your style. Write it with your golden format. Then test it (see below). Fix the format now so every other recipe clicks into place.
Step 7: Recipe testing, the simple way
This is how to test recipes for a cookbook without chaos.
Process:
- Cook it yourself with a timer.
- Write what you actually did.
- Give it to 2–3 testers with different skill levels.
- Ask for specific feedback:
- Did the yield match?
- Were steps clear?
- Any missing tools?
- Times accurate?
- Flavor on point?
Tip: Send a short form. Ask testers to rate ease, clarity, taste, and time. Repeat tests for tricky bakes and sweets.
Step 8: Tighten headnotes and tips
A headnote is a short note before the recipe. It can share a tiny story, explain a swap, or set a mood. Keep it 2–4 sentences. Add one pro tip or make-ahead tip for value.
Step 9: Make ingredients readable
- List in the order used.
- Write numbers first: “2 cups cooked rice” not “two cups…”
- Keep units consistent.
- Use parentheticals for clarity: “1 cup basil leaves (packed).”
Step 10: Make the method easy to scan
- Use numbered steps.
- Start each step with a verb: “Heat,” “Stir,” “Fold.”
- Put one action per step.
- Add time cues: “Simmer 12–15 minutes.”
- Add sensory cues: “Cook until onions are soft and clear.”
Step 11: Add special sections that serve your promise
Common extras:
- Pantry and swaps
- Tools and safe use
- Basics and sauces
- Troubleshooting chart
- “First 7 recipes to make” list
- “30-minute plan” for a week
Step 12: Plan your photos
Photos sell cookbooks. Plan a look:
- Natural light or consistent studio light
- Clean plates and simple props
- Step shots only when needed
- One hero shot per recipe or per chapter
Shot list idea:
- 15 hero dishes
- 6 step-by-step spreads
- 4 pantry shots
- 1 author photo
Step 13: Think about cookbook layout ideas
Good layout guides the eye. Keep it calm and clean.
Ideas:
- One recipe per page when possible
- Ingredients in a narrow left column
- Steps in a right column
- Icons for tools or time
- Callouts for tips and swaps
- Chapter openers with a color band
Step 14: Build your style guide
A style guide keeps things consistent. Include:
- Units (g/ml or cups/tbsp)
- Spelling (chili vs. chile)
- Capitalization (tablespoon vs. Tbsp.)
- Number rules (1–9 spelled out or numerals?)
- Oven temps (°F and/or °C)
- Allergen tags
Share this guide with editors, designers, and testers.
Step 15: Draft your full manuscript
Write in short blocks. Use a checklist. Aim for steady progress:
- 3–5 recipes per week
- 1 chapter intro per week
- 1 photo day per week during shoot phase
Step 16: Edit in layers
Don’t try to fix everything at once.
Passes:
- Structure pass: TOC, flow, and chapter logic
- Recipe pass: clarity, order, and timing
- Language pass: tone, short sentences, no jargon
- Consistency pass: units, style, tags
- Proof pass: typos and widow/orphan lines
Step 17: Index and cross-references
An index helps readers find recipes by ingredient or method. If indexing yourself, list the main noun first:
- Beans: black, white, chickpeas
- Bread: sourdough, gluten-free, pita
Add cross-links in the book:
- “See page 42 for the basic red sauce.”
Step 18: Pick your publishing path
You have two main paths for cookbook publishing:
- Traditional publishing
- You write a proposal.
- You find an agent.
- The publisher pays an advance.
- They handle editing, design, printing, and distribution.
- You earn royalties later.
- You need a clear platform and a strong hook.
- Self-publishing a cookbook
- You keep control and speed.
- You pay for editing, design, and printing.
- You keep more profit per book.
- You market it yourself (or hire help).
- You can use print-on-demand or offset print.
Step 19: The cookbook proposal (if going traditional)
A proposal is a sales document. It shows idea, reader, and you.
Sections:
- Overview and promise
- Target reader and market
- About the author (why you)
- Competing books and gap
- Table of contents
- 3–5 sample recipes with photos
- Marketing plan and audience size
Step 20: Budget and timeline
Simple budget items:
- Editing (developmental + copy)
- Recipe testing costs
- Food costs for shoots
- Photography and styling
- Design and layout
- Indexing
- Printing or print-on-demand setup
- ISBN and barcode
- Marketing and ads
Simple timeline idea (6–9 months):
- Month 1–2: Write and test core recipes
- Month 3: Draft chapters and edit
- Month 4: Photo shoot and captions
- Month 5: Design and layout
- Month 6: Proofs, index, and upload to printer
- Month 7–9: Marketing ramp-up and launch
Step 21: Printing choices
Print-on-demand (POD):
- Lower upfront cost
- Easy updates
- Per-unit cost is higher
- Paper options are limited
Offset print:
- Higher upfront cost
- Lower per-unit cost
- More control over paper and color
- Best for large orders or retail deals
Step 22: ISBN, barcode, and copyright
An ISBN is a unique book ID. You’ll also need a barcode for retail. You hold copyright as the author. Keep your original files safe. If you quote longer text from others, get permission.
Step 23: Cookbook marketing strategies that work
Pick a few, and do them well.
Before launch:
- Share behind-the-scenes posts
- Offer a free mini-PDF (5 recipes) for email signups
- Line up podcast or blog interviews
- Ask early readers for blurbs
Launch week:
- Host a live cook-along
- Offer a bonus: shopping list pack or video class
- Ask readers to post photos with a hashtag
After launch:
- Pitch 2–3 seasonal recipes to media
- Run a small ad to your email list
- Teach a local class with your book as the text
Step 24: Build a simple author platform
You don’t need a huge following. You need an engaged one.
Essentials:
- A clean site with your bio, book info, and contact
- An email list with a welcome gift
- One social channel you enjoy
- A monthly newsletter with one great recipe and one tip
How to Format Recipes for a Cookbook (Template)
Use this template to keep every recipe clean and simple.
Recipe Title
Yield: 4 servings | Time: 15 min active, 30 min total
Headnote:
A short story or tip. What makes this recipe special? One or two lines.
Ingredients:
– 2 cups cooked brown rice (packed)
– 1 cup canned chickpeas, drained and rinsed
– 2 tablespoons olive oil
– 1 teaspoon ground cumin
– 1/2 teaspoon salt
– 1 cup cherry tomatoes, halved
– 1/4 cup chopped parsley
Method:
1) Heat oil in a large skillet over medium heat, 1 minute.
2) Add chickpeas, cumin, and salt. Cook 3–4 minutes until fragrant.
3) Stir in rice and tomatoes. Cook 5 minutes, until hot.
4) Remove from heat. Fold in parsley. Taste and adjust salt.
Notes:
– Swap parsley for cilantro.
– Add lemon juice for brightness.
– Store 3 days in the fridge.
Cookbook Layout Ideas (Quick Wins)
- Use white space. Let content breathe.
- Keep lines short. 45–70 characters per line.
- Set clear hierarchy. Bigger for titles, bold for subheads.
- Use icons sparingly. Time, tools, and spice heat can be icons.
- Stay consistent. Same caption style. Same photo borders.
- Mind the gutter. Don’t let text vanish near the spine.
- Test print. Print a few pages at home before sending to print.
How to Test Recipes for a Cookbook (Deeper Dive)
Testing makes your book trustworthy. Do more tests for baked goods, candy, and large roasts.
Create a simple test kit:
- Digital scale
- Oven thermometer
- Instant-read thermometer
- Two reliable timers
- Notebooks for notes
- A shared feedback form (Google Form works well)
Ask testers to note:
- Where they paused or got confused
- Steps they had to read twice
- Any tool they didn’t have
- Times that felt off
- Flavor and texture results
- What they’d tell a friend before cooking it
Aim for at least two rounds on key recipes. Fix sticking points right away. Update your style guide if the change applies to all recipes.
How to Organize Recipes for a Cookbook (Four Simple Models)
- By time (15, 30, 60 minutes)
- Great for busy readers.
- By method (sheet pan, one-pot, grill)
- Helps readers use what they own.
- By meal or course (breakfast, mains, sweets)
- Classic, easy to follow.
- By ingredient or season (tomatoes, squash, citrus)
- Great for market cooks and gardeners.
Pick one main model. Add a strong index to cover the rest.
Cookbook Publishing Paths (A Quick Comparison)
| Item | Traditional Publishing | Self-Publishing a Cookbook |
| Upfront Cost | Low to author | Higher to author |
| Speed | Slow (12–24 months) | Faster (3–9 months) |
| Control | Lower | Higher |
| Royalty per Book | Lower | Higher |
| Distribution | Wide retail | You choose |
| Marketing | Shared | Mostly you |
Pick the path that fits your time, budget, and goals.
Pricing Your Cookbook
Think about:
- Print cost per book
- Retail channel (online vs. stores)
- Page count and paper type
- Your reader’s budget
- Competing books in your niche
Common price bands:
- Slim, black-and-white workbooks: lower price
- Full-color, 200+ pages: mid to higher price
- Premium hardcovers with many photos: highest range
If you sell direct, offer bundles: book + signed bookplate + bonus PDF.
Pre-Launch Checklist
Final manuscript approved
Photos selected and captioned
Proofread print-ready files (PDF)
ISBN and barcode placed on the back cover
Online listings created with strong copy
Email welcome gift ready (mini recipe pack)
Media kit (bio, headshots, sample pages)
Launch partners lined up
Street team or early readers ready to post reviews
Post-Launch Momentum Plan
Week 1–2:
- Share 3 recipes with short videos.
- Run a giveaway with a partner brand.
- Thank new readers and ask for honest reviews.
Week 3–4:
- Teach a free workshop with one recipe from the book.
- Pitch one seasonal story to a local outlet.
- Offer a small discount to your email list.
Month 2–3:
- Do a live Q&A.
- Share “reader remakes” on your social channel.
- Add a bonus recipe PDF for new buyers.
Tiny Stories to Use in Your Book
Stories make readers smile. Keep them short.
- “My dad taught me this omelet. He said, ‘Don’t rush eggs.’ He was right.”
- “I burned the first batch of cookies. The timer saved the second.”
- “This soup started as a fridge clean-out. Now it’s our Sunday favorite.”
A few lines can turn a plain recipe into a memory.
Common Mistakes and Easy Fixes
Mistake: Too many rare tools.
Fix: Offer a common-tool swap.
Mistake: Vague times like “cook until done.”
Fix: Give a range and a sign: “8–10 minutes, until noodles are tender.”
Mistake: Overloaded pages.
Fix: Use white space and simple callouts.
Mistake: Inconsistent terms.
Fix: Keep and follow your style guide.
Mistake: No testers outside your kitchen.
Fix: Recruit 3 testers with different skill levels.
Simple Marketing Copy You Can Reuse
Short book blurb (50 words):
“Fast, tasty dinners you’ll cook tonight. This book gives you simple recipes, clear steps, and real-life tips. No fancy gear, no stress. Just good food that fits your day. You’ll learn swaps, make-ahead tricks, and smart shortcuts. Dinner can be easy and fun.”
Author bio (40 words):
“[Your Name] is a home cook and food writer who loves simple, bold flavors. They teach busy cooks to make great meals with everyday tools. This is their first cookbook, built from years of weeknight cooking.”
Sample Cookbook Proposal Outline (Traditional Path)
- Overview: Your big promise in 2–3 paragraphs
- Reader: Who they are, what they need
- About You: Your story and platform
- Comp Titles: What exists and how you’re different
- Marketing Plan: What you’ll do and who will help
- TOC: Final or near-final
- Sample Chapters: 3–5 recipes with photos
- Timeline: When you can deliver the manuscript
Self-Publishing a Cookbook: A Simple Roadmap
- Plan: Concept, reader, TOC, and style guide
- Draft: Write in your golden format
- Test: Use diverse testers and fix issues
- Edit: Developmental, copy, and proof passes
- Design: Clean layout with room to breathe
- Shoot: Photos with a steady look
- Production: ISBN, barcode, print-ready files
- Print: POD or offset
- Launch: Email list, partners, bonuses
- Grow: Classes, bundles, and seasonal content
Arkham House Publishers: Friendly Help for Food Authors
Writing a cookbook is like cooking a great meal. You plan, prep, and work in simple steps. You test and taste. You fix what’s off. Then you plate it with care. Keep your promise clear. Keep your format steady. Keep your reader in mind. If you want friendly pros by your side, Arkham House Publishers is here to help. Arkham House Publishers is a down-to-earth team that helps authors make beautiful, useful cookbooks. We guide you from idea to launch with care and clear steps.
What we can do for you:
- Concept shaping and proposal support
- Developmental and copy editing in plain language
- Recipe testing coordination and feedback systems
- Design and layout with clean, modern templates
- Photo art direction and shot lists
- Print setup (ISBN, barcode) and distribution guidance
- Launch plans and long-tail marketing support
Want steady, expert support while writing a cookbook or need a guide or a partner?
Email Arkham House Publishers. We’ll review your idea and map your next steps—free.